JWT Token with Jitsi
When I first started building my own video classroom system, my goal was simple:
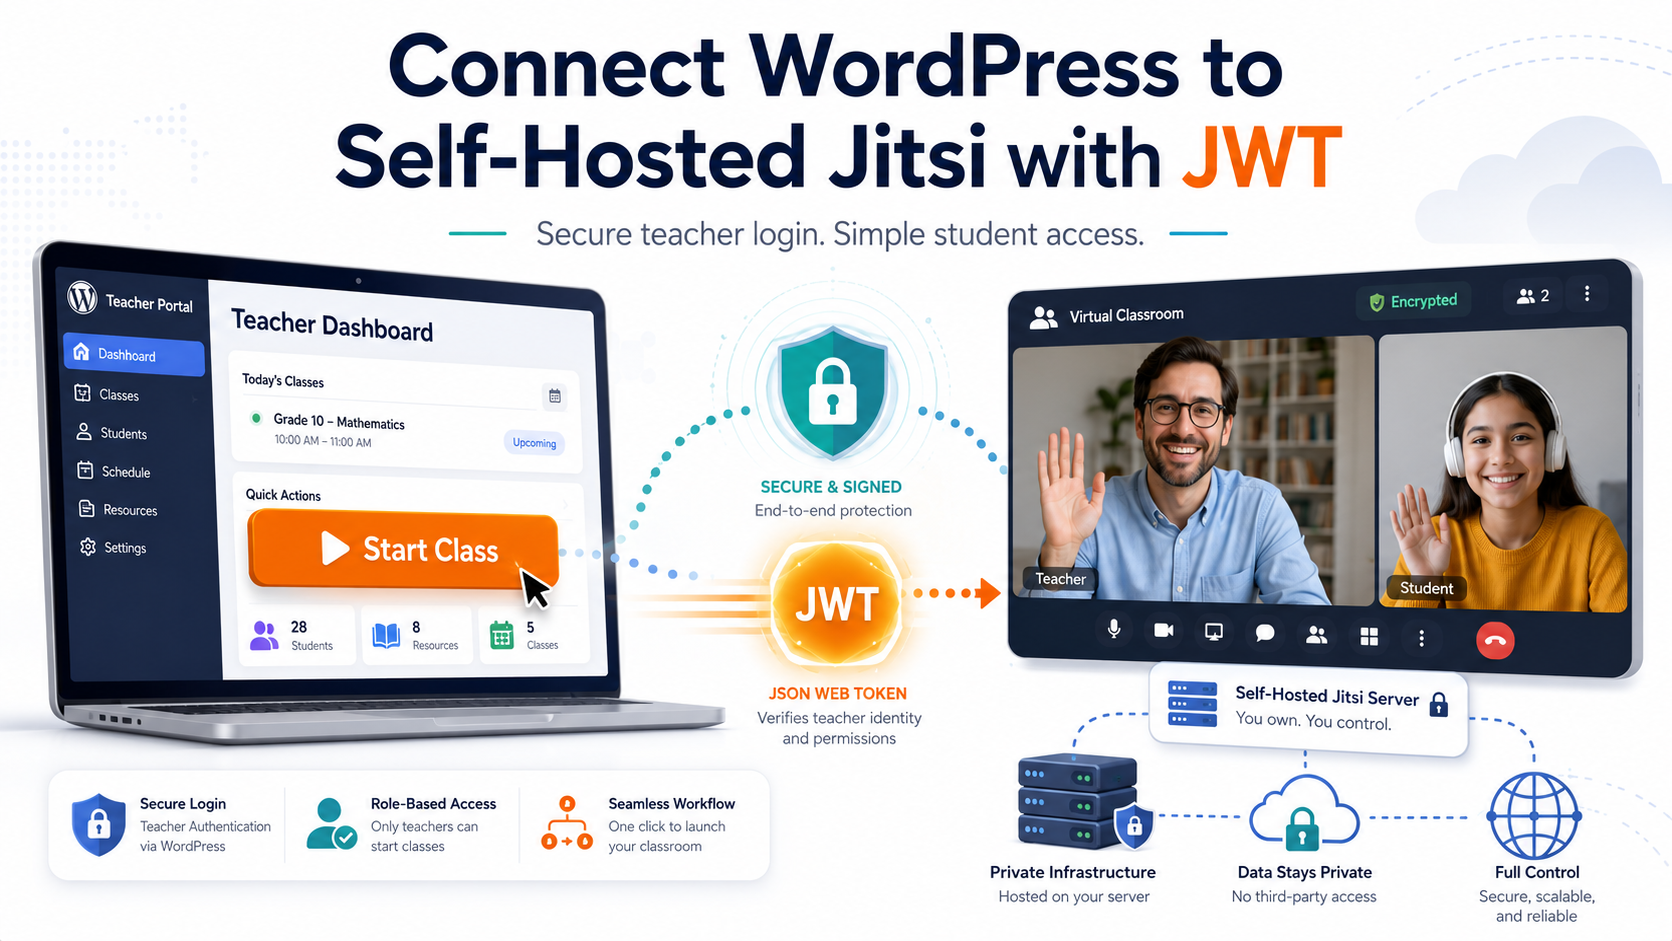
I wanted teachers to log into our WordPress/BuddyBoss portal, click Start Class, and enter their assigned Jitsi classroom automatically — without needing a second Jitsi username and password.
Students, on the other hand, needed to stay simple. They should be able to open the classroom link and join as guests after the teacher starts the room.
This article explains how I tested and successfully connected WordPress to a self-hosted Jitsi Meet server using JWT tokens.
The Starting Point
Before JWT, my Jitsi production system was already working.
The production Jitsi server used:
- A dedicated Jitsi VM
- Internal Jitsi authentication
- Teacher usernames and passwords
- Guest students
- Permanent classroom links
- Stable video/audio
- TURN and UDP media support
The teacher flow was:
- Teacher opens their permanent Jitsi classroom link.
- Teacher enters their Jitsi username and password.
- Teacher starts the room.
- Students join as guests.
This worked, but it still required teachers to manage a separate Jitsi login. Since the teachers already log into the WordPress portal, I wanted WordPress to handle the Jitsi entry.
Why JWT?
JWT stands for JSON Web Token.
In this setup, JWT allows WordPress to create a secure, short-lived “entry ticket” for Jitsi.
Instead of the teacher typing a Jitsi username and password, WordPress generates a token that says:
“This logged-in teacher is allowed to enter this exact room as a moderator.”
The Jitsi URL looks like this:
https://jwt-meet.example.com/teacher-room-name?jwt=SECURE_TOKEN
The token is created server-side by WordPress, signed with a secret that Jitsi also knows, and expires after a short period.
This is important because the full token URL should not be permanent. It should be generated fresh each time the teacher clicks the button.
The Safe Testing Strategy
The most important decision was this:
I did not switch my production Jitsi server directly to JWT.
Instead, I created a separate JWT test environment.
The final strategy was:
Production Jitsi VM:
meet.example.com
Internal authentication
Still used for live classes

JWT Test Jitsi VM:
jwt-meet.example.com
JWT authentication
Used only for testing
This gave me a safe lab to test JWT without risking live classes.
The test server was created from the working production Jitsi setup, then modified carefully:
- New hostname
- New private IP
- New test domain
- New Jitsi public URL
- JWT authentication enabled
- Separate UDP media port
- Separate Traefik route
This allowed production to stay untouched while the JWT workflow was developed.
Network and Firewall Lessons
The web part of Jitsi worked quickly through Traefik.
The harder part was media.
Jitsi video/audio does not rely only on HTTPS. The Jitsi Videobridge needs UDP media traffic.
In production, the media port was:
UDP 10000
For the JWT test VM, I used:
UDP 11000
At first, the meeting opened but disconnected after a little while. The problem was not WordPress and not JWT. The issue was that UDP 11000 was forwarded in Proxmox NAT, but not yet allowed in the Hetzner firewall.
Once the firewall rule was expanded to allow the test media port, the meeting became stable.
That was an important reminder:
Jitsi web access and Jitsi media access are different things.
Traefik handles HTTPS.
Jitsi media still needs proper UDP forwarding.
WordPress Integration
For the WordPress side, I used a safe two-part method.
1. Store the JWT Secret in wp-config.php
The JWT secret should not be stored directly inside a snippet or displayed inside the WordPress admin interface.
Instead, I placed it in wp-config.php:
define('ULAMA_JITSI_JWT_TEST_DOMAIN', 'jwt-meet.example.com');
define('ULAMA_JITSI_JWT_TEST_APP_ID', 'ulama-jwt-test');
define('ULAMA_JITSI_JWT_TEST_APP_SECRET', 'PASTE_SECRET_HERE');
This keeps the secret outside the visible WordPress snippet editor.
2. Use Fluent Snippets for the Button Logic
I used Fluent Snippets to create a WordPress shortcode.
The snippet type was:
Functions / PHP Functions
Priority: 10
Run: Everywhere
The shortcode generated a fresh JWT token and displayed a simple button:
[ulama_jitsi_soliman_jwt_test]
The button showed:
My Live Classroom
Click below to open your assigned Ulama classroom.
Start Class
Teacher access link expires in 4 hours.
When the teacher clicked Start Class, WordPress generated a fresh JWT link and opened the Jitsi room.
BuddyBoss / BuddyDev Tab Setup
I used BuddyDev/BuddyPress User Profile Tabs Creator Pro to create the teacher meeting tab.
One important lesson:
Do not put the JWT link directly into the BuddyDev tab URL.
Why?
Because JWT links expire.
Instead, I placed the shortcode inside the subnav content area:
[ulama_jitsi_soliman_jwt_test]
That way, WordPress generates a fresh token each time the page loads.
The final method was:
BuddyDev subnav content → shortcode → WordPress generates JWT → teacher clicks Start Class
This avoided iframe issues and avoided static expired links.
Troubleshooting Problems I Hit
Problem 1: “Authentication failed”
At one point, the Jitsi page showed:
Authentication failed
Sorry, you're not allowed to join this call.
The cause was simple but easy to miss.
The JWT secret in wp-config.php did not exactly match the secret on the Jitsi server.
Mistakes included:
- Pasting the full command output instead of only the secret
- Including JSON text around the secret
- Accidentally including
\nbefore and after the secret - Using an old cached token after rotating the secret
The correct secret format must be only the secret value:
define('ULAMA_JITSI_JWT_TEST_APP_SECRET', '64_CHARACTER_SECRET_ONLY');
No spaces.
No line breaks.
No JSON.
No labels.
Problem 2: Meeting Opened but Disconnected
This was caused by the test Jitsi media port not being allowed in the firewall.
The fix was:
Allow UDP 11000 for the JWT test VM
After that, video and audio stayed stable.
Problem 3: Snippet HTML Broke
At one point, the PHP snippet broke because of mixed PHP/HTML and a missing closing });.
The fix was to make the snippet return the HTML as a string instead of mixing too much open/close PHP.
Final Successful Result
The final test succeeded.
The working flow is now:
- Teacher logs into WordPress/BuddyBoss.
- Teacher opens the meeting tab.
- Teacher clicks Start Class.
- WordPress creates a fresh JWT token.
- Teacher enters Jitsi automatically as moderator.
- Teacher does not type a Jitsi username or password.
- Student/guest link works.
- Audio and video are stable.
This proved that the WordPress-to-Jitsi JWT workflow works.
Why Production Was Not Changed Yet
Even though the test worked, I did not immediately switch production.
The production server is still working with internal authentication, and live classes depend on it.
The safe production plan is:
- Keep the JWT test VM as a reference.
- Prepare a production maintenance window.
- Take a full VM snapshot of production Jitsi.
- Back up the production
.env. - Generate a new production JWT secret.
- Add production JWT constants to WordPress.
- Switch production Jitsi from internal auth to JWT.
- Test one teacher room first.
- Test student guest access.
- Keep rollback ready.
The final strategy is:
Do not move the test VM into production.
Use the test VM as the lab.
Carefully rebuild the proven JWT method on the original production Jitsi VM.
Final Thoughts
This project proved something important:
A self-hosted Jitsi Meet server can be connected to a WordPress/BuddyBoss teacher portal using JWT tokens.
The result is much cleaner for teachers.
Instead of remembering another Jitsi password, the teacher simply logs into WordPress and clicks Start Class.
Students still have a simple guest experience.
The key lessons were:
- Test JWT on a separate VM first.
- Do not risk production too early.
- Store JWT secrets safely.
- Generate tokens server-side only.
- Never use fixed JWT links.
- Remember that Jitsi media needs UDP, not just HTTPS.
- Keep snapshots and rollback plans ready.
This was not a one-click setup, but it created a strong foundation for a real online classroom platform.